Turning my small house into my dream home.
Easy Beginner DIY Hutch in 5 Simple Steps
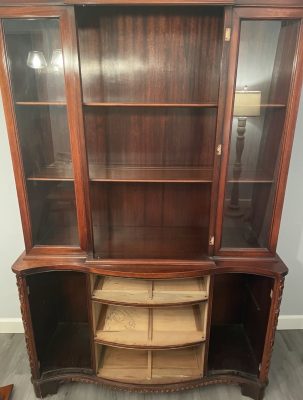
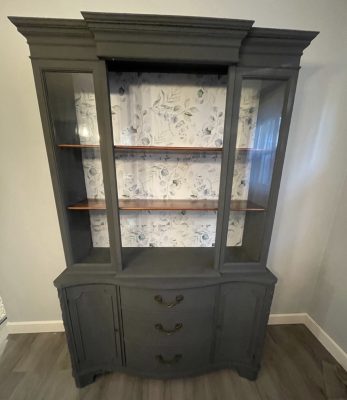
STEP 1: Acquire a China cabinet.
Facebook marketplace, yard sales, dumpster diving, asking your Nana if you can have hers…all great places to start!
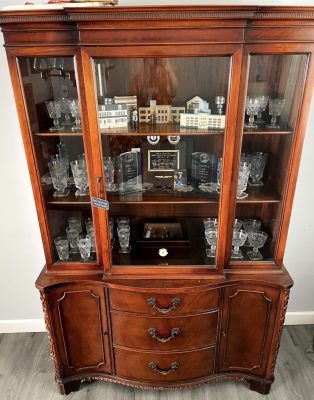
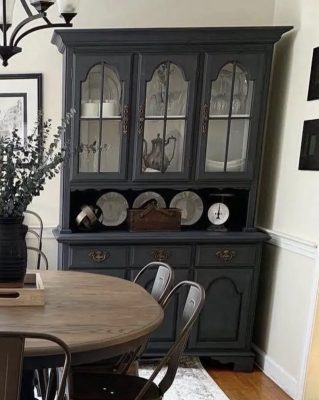
This was my inspiration photo at the start of this process:
STEP 2: Clean it.
Chances are it’s dusty. Don’t think too hard about it, a damp washcloth will do just fine!
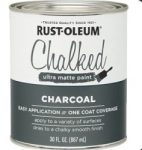
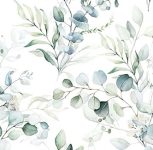
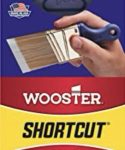
STEP 3: Buy chalk paint, paint brush, and peel and stick wallpaper of your choosing.
Chalk paint is thick, very forgiving (i.e. no sanding required), and can withstand the test of time. Personally, I like to keep my DIYs as easy as humanly possible, which led me to chalk paint!
As for peel and stick wallpaper, while it can be temperamental to use, it is also often very forgiving, and you can unpeel it and re-stick until you get it right the 2nd, 3rd, or 7th time…
I did the homework for you, so here’s a link to the exact THREE products I used (paint, wallpaper, brush), as well as some other cute options to get different desired looks.
ALL PRODUCTS I USED HERE: https://tr.ee/ECxL5e
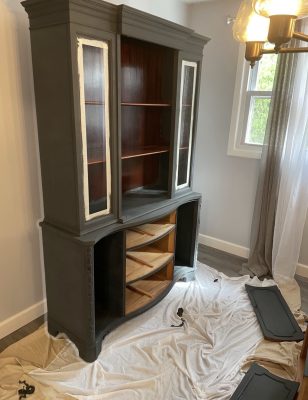
STEP 4: Paint the cabinet.
Chalk paint dries quickly, which is nice for us DIY Moms who only have a 45 minute nap time work window. No need to glob it on, the coverage of chalk paint is so fantastic don’t be surprised if you only need one coat.
I am a MESSY painter, which is why I used tape and some drop cloths. But do what feels right to you! I also couldn’t remove the shelves, so I just painted around them, and kept them the original wood tone for some nice contrast.
STEP 4 1/2: Add the wallpaper.
Each cabinet is like a snowflake. Use your inspo pic to guide you and determine where (or even if) you should add wallpaper.
Getting frustrated with small bumps or misalignment in the wallpaper? DON’T WORRY ABOUT IT! You are going to fill this hutch with beautiful trinkets and collectibles. No one is going to notice a wrinkle or a seam hidden behind a picture frame.
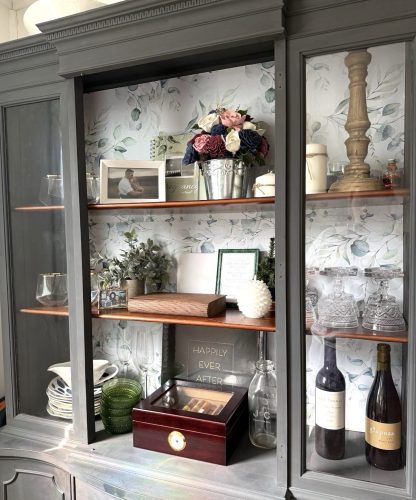
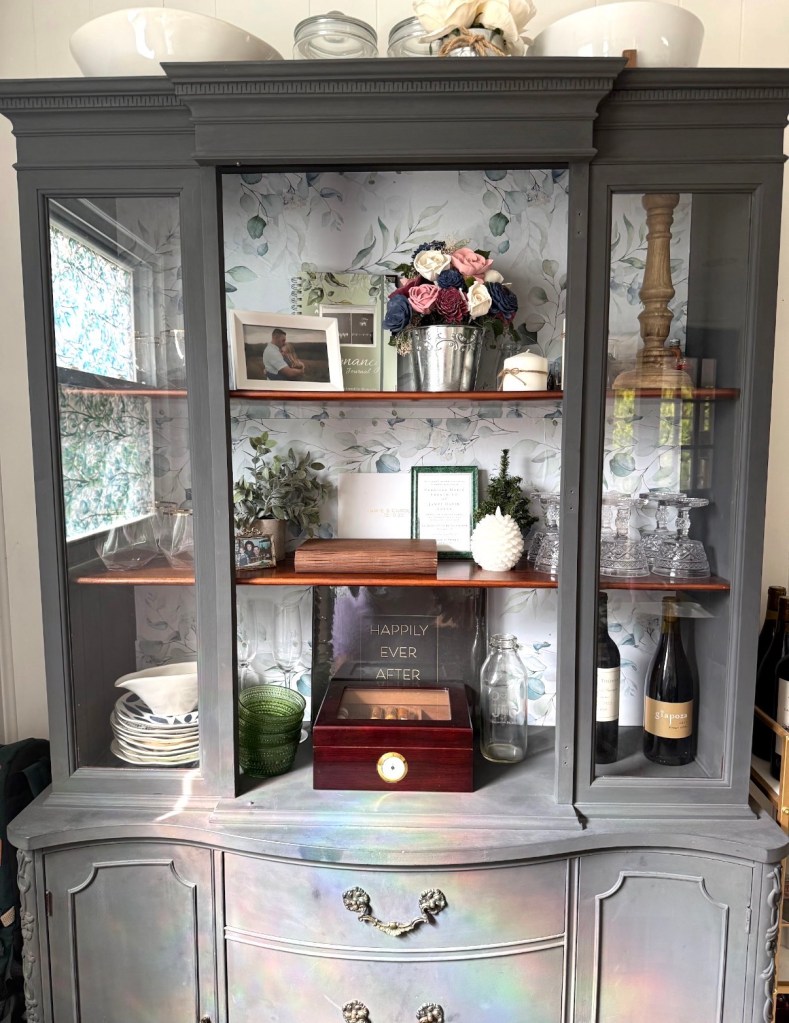
Proof right here: I have a long horizontal misaligned seam in the middle 1/3rd section of wallpaper. Do you see it? Neither do I!
STEP 5: Decorate!
This is the moment you’ve been waiting for this entire journey. Filling your beautiful newly designed one-of-a-kind hutch with your collection of memories and trinkets. I love to change a few things around depending on the season, adding some twinkle lights in during the winter months.
This hutch has given me so much joy (and necessary storage space), and I continue to get compliments on it year after year (5 years, in fact).
I hope this short tutorial gives you the confidence to tackle your own DIY hutch, and know that it doesn’t have to be complicated or perfect to be beautiful!
Happy decorating!

Leave a comment